
Amazon Lightsail instance is a virtual private server (VPS) that lives in the AWS Cloud. You can use your Lightsail instances to store your data, run your code, and build web-based applications or websites. Lightsail is fast, simple to use, easy to manage, cheap, and scalable. In this article, we are going to discuss How to Deploy CloudPages on Amazon Lightsail?
Amazon Lightsail is an excellent budget-friendly choice for small businesses and well-versed webmasters from the software industry who are able to get things done without a helping hand.
It is an alternative offering from Amazon to compete with some others like DigitalOcean, Vultr, UpCloud, etc. Follow the steps given below to Deploy CloudPages on Amazon Lightsail.
Creating Amazon Lightsail Instance
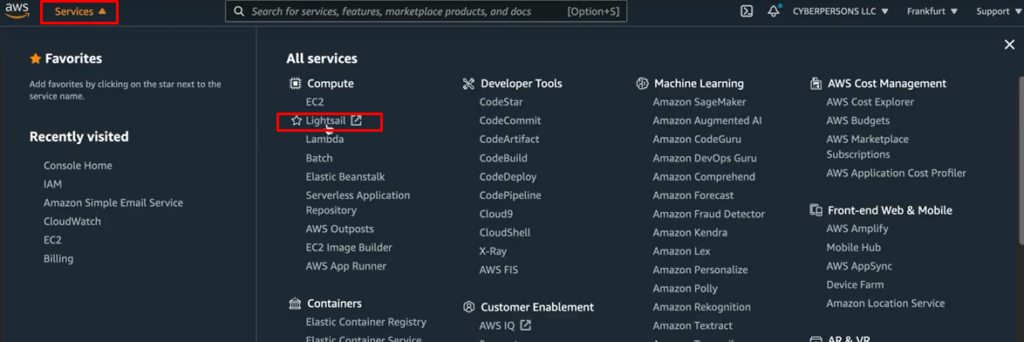
To use Lightsail, you need to have an Amazon account. Once you are logged into your Amazon account, you will see its dashboard. To create a Lightsail instance, go to Services -> Lightsail.
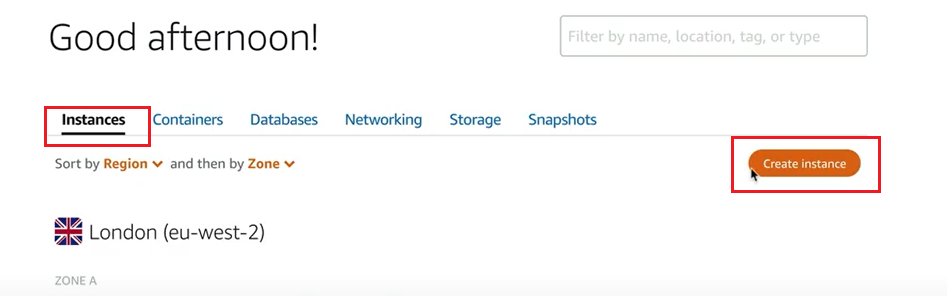
Now click on Instances and then click on Create Instance button to start creating.
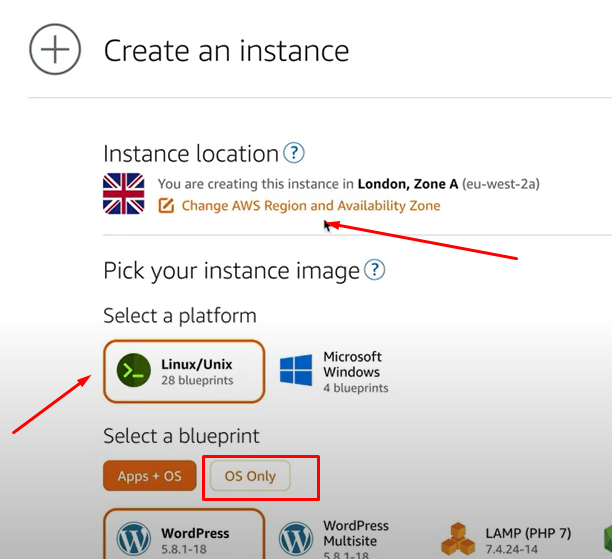
Amazon offers many different locations for Lightsail. Choose the location of your choice, and Linux/Unix from the platform section since we will be deploying CloudPages on Ubuntu LTS 20.04 which is Linux-based.
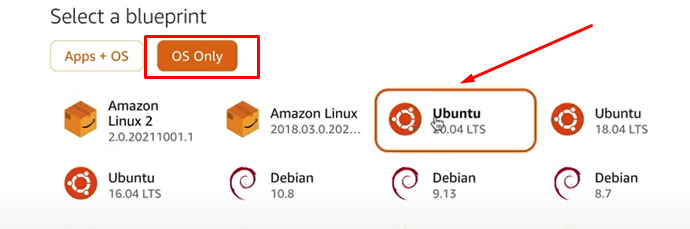
Now click on OS Only and choose Ubuntu 20.04 LTS from there.
After this, choose the Instance pricing plan. I am going with a 10 USD Plan which also has the First 3 months free.
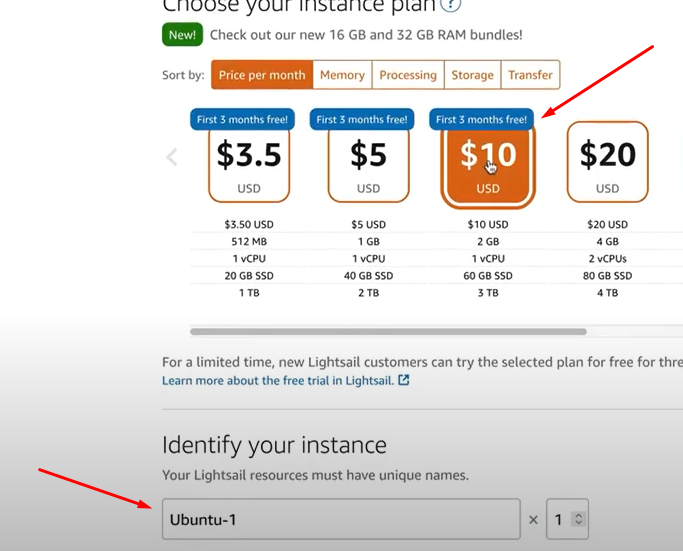
Now scroll down a bit and enter the name for your instance. Then click Create Instance.

Creating a Static IP for Instance
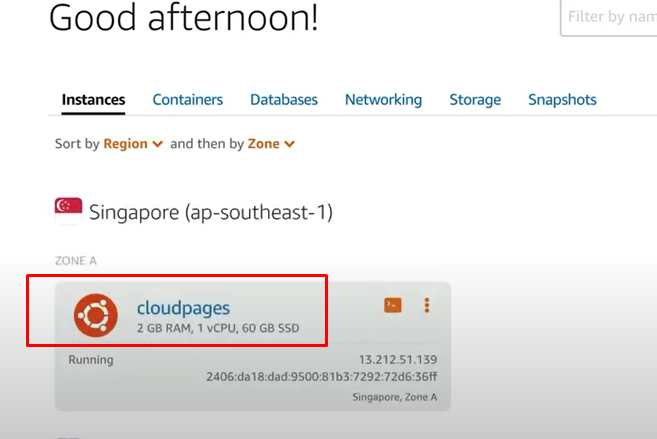
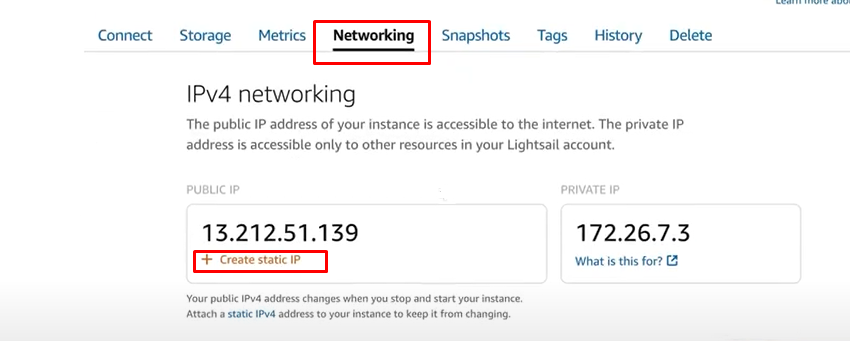
When our Lightsail instance is created, we get a dynamic IP which isn’t good because when you shut down or reboot your Lightsail VM then you will get a new IP address and all of your sites will be down. So, to avoid this we need to create a static IP for our Lightsail VM. Now once the instance is created, click on the instance.
Now go to the Networking tab of the instance and click on Create Static IP.
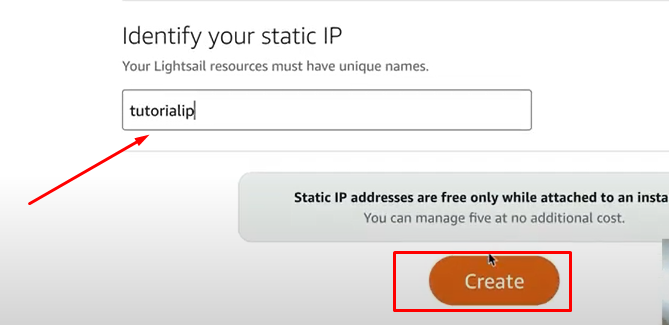
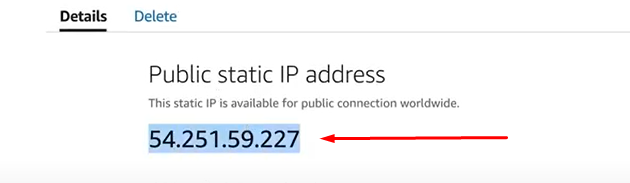
Now scroll down a bit and enter the unique name for your Static IP and click on Create button to create the static IP.
Now copy the static IP address you have got.
Adding Firewall Rules for Lightsail Insatnce
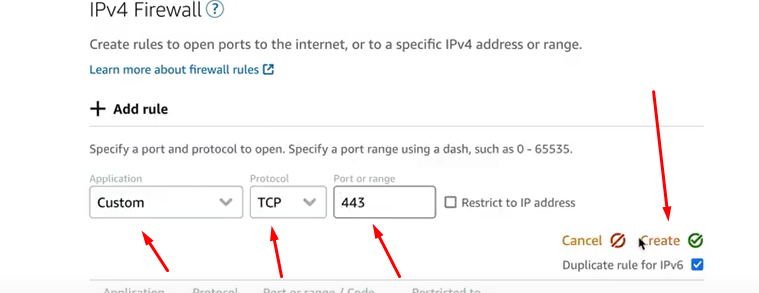
Now we need to open some ports to work things properly. To do so, go to your instance, then click on the Networking tab and scroll down to the IPv4 Firewall section. Now click on the Add rule, and add port 443 for TCP protocol.
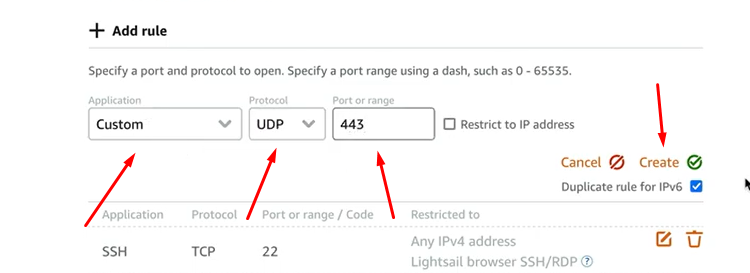
Similarly, add port 443 for UDP protocol also.
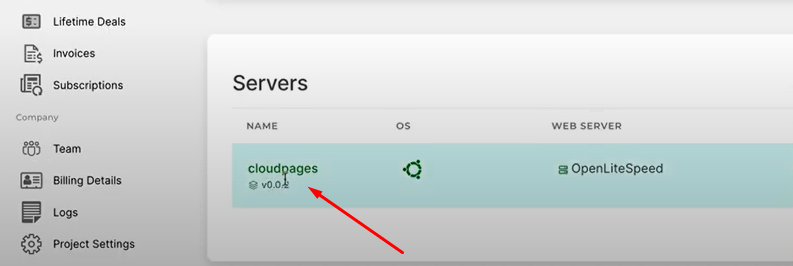
Now we need to add one more port by which CloudPages can communicate with your server. For that, go to your CloudPages dashboard and click on the server on which you are deploying CloudPages.
Navigate to the Firewall section of the server from the left menu bar.
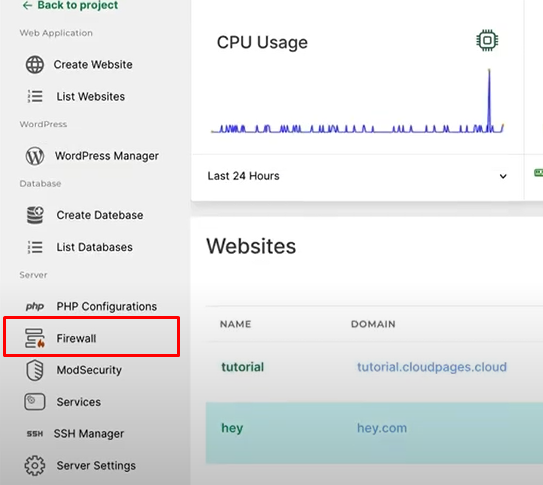
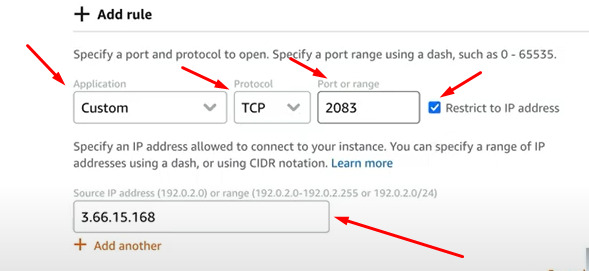
Now copy the IP address associated with port 2083. This port and IP address will be used by CloudPages to communicate with Amazon Lightsail.

Now you need to add this port with only this restricted IP on TCP protocol.
Deploy CloudPages on Amazon Lightsail
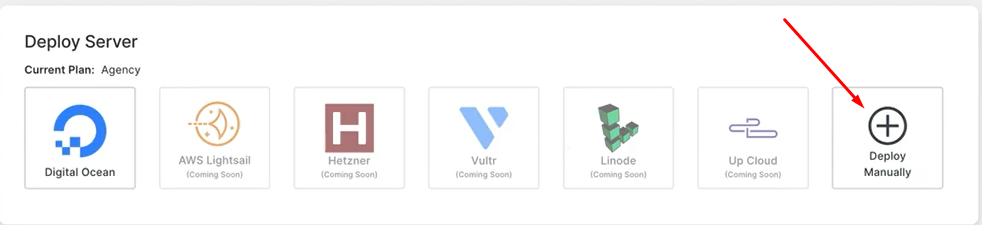
Now we will deploy our server manually for this tutorial.
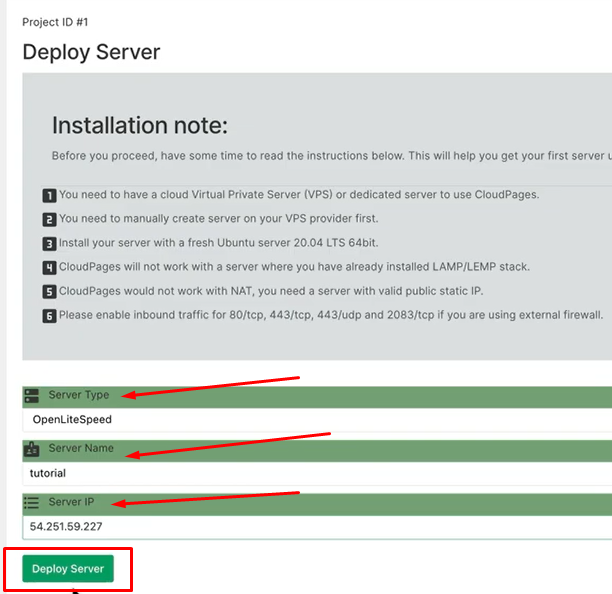
In the next screen, choose the Server Type, I will sect OpenLiteSpeed. Then enter the name for your server and your server IP and hit the Deploy Server button.
Installing CloudPages on Your Server
Now after the server is deployed, you need to install the CloudPages on this server. For that, copy the command that is displayed on the next page.

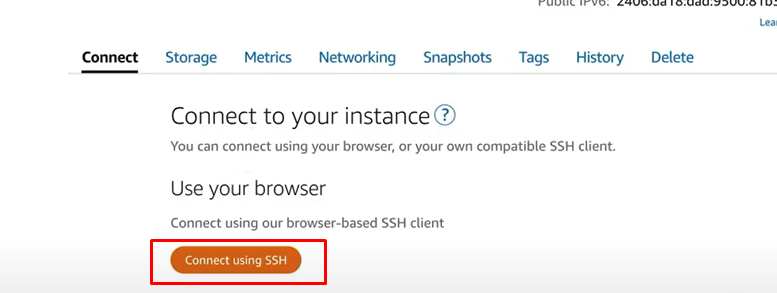
Now go to the Connect tab of your Lightsail instance and click on Connect using SSH.
In the end, paste the command you copied in the terminal which will be opened. But before pasting the command, you need to be a root user. For that type:
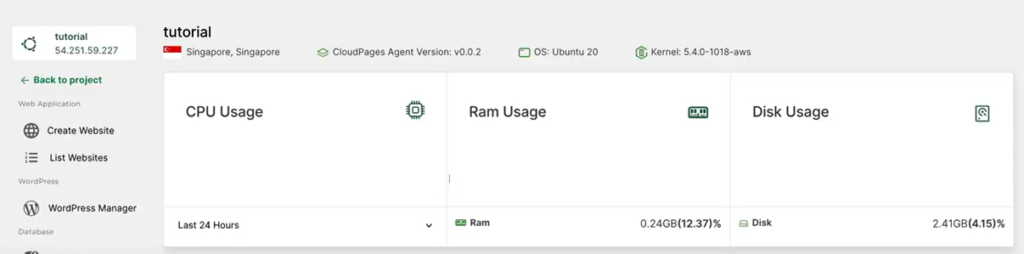
sudo su -After entering the above command, paste the command you copied. Then the installation will start. Once the installation is finished, go to your CloudPages dashboard and open your server from there. You will see the CloudPages installed on it. Now you can install WordPress sites on your server.
So using this article you can Deploy CloudPages on Amazon Lightsail.
Read More: Write Rewrite rules for OpenLiteSpeed – CyberPanel