
In this tutorial, we discuss Setup NewRelic on LiteSpeed/CyberPanel to check the performance. follow this guide you are able to setup NewRelic on your website.
Table of Contents
- What is NewRelic?
- Create a new account on the New Relic Site
- Setup configuration your server in New Relic APM
- Setup PHP Application Data
- Find WordPress Performance Bottlenecks
What is NewRelic?
We use New Relic APM to avaluate the WordPress Performance by digging deep into the internals of WordPress. NewRelic help you to find poorly performance plugins, themes, database queries or external calls so we can avaluate perfoemance of wordpress. Without NewRelic APM all you are doing is a guess work by activating/deactivate plugins and or changing themes.
New Relic is one of the best cloud-based platforms for monitoring application and infrastructure performance in real-time. It offers insights to optimize and troubleshoot digital services. Using New Relic APM, we evaluate WordPress performance by analyzing its core functions. It identifies underperforming plugins, themes, database queries, or external calls, enhancing WordPress efficiency. Without New Relic APM, optimizing WordPress relies on guesswork through plugin or theme changes.
Before moving forward, if your site is new with no traffic and you still want to test its performance you can use CyberLoader to put stress on your site and use New Relic to find performance issues.
Note: If you are still not using CyberPanel, then you are missing out. Start using CyberPanel and see how easy it is to give a performance boost to your WordPress site for free.
Setup NewRelic on LiteSpeed/CyberPanel
Create a new account on the New Relic Site
First of all setting up, New Relic on your server is to get an account on the New Relic site if you don’t have an account on it. if you already have an account, you can sigin and move forward.
Setup configuration your server in New Relic APM
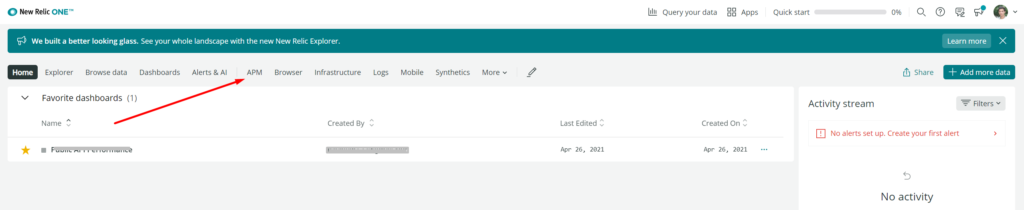
After logged in you dashboard click on APM from the menu and then click Add More Data.
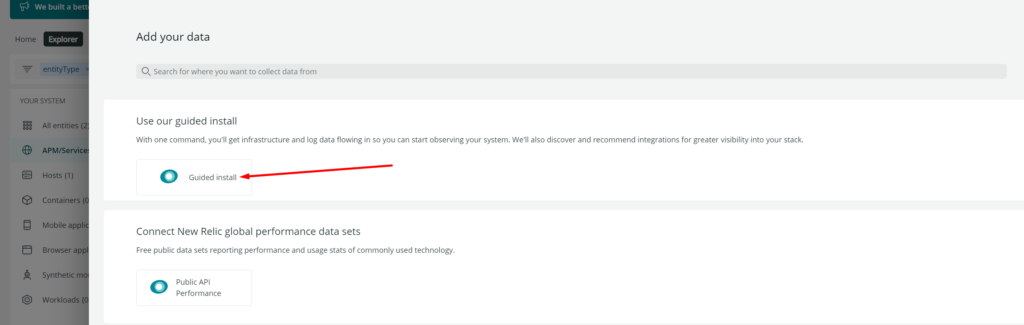
Then you will see a window where you have multiple options to configure and install New Relic on your server, we will be using the Guided Install method.
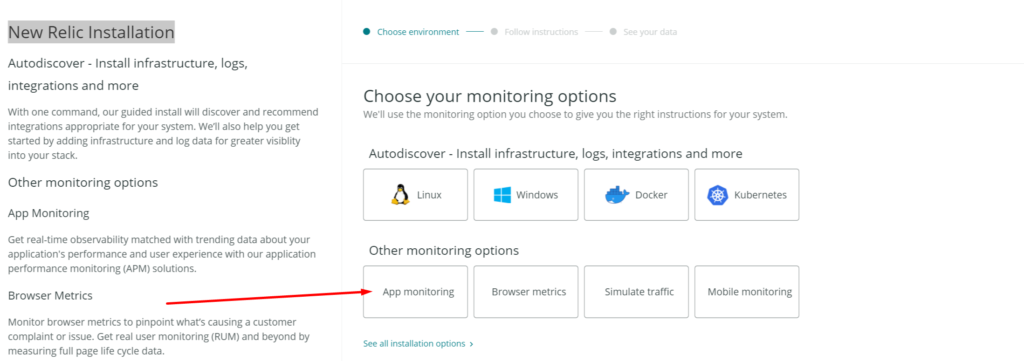
When you selected the Guided Install option you need to choose what kind of monitoring you want to do. We know WordPress is a Web app, we will start App monitoring.
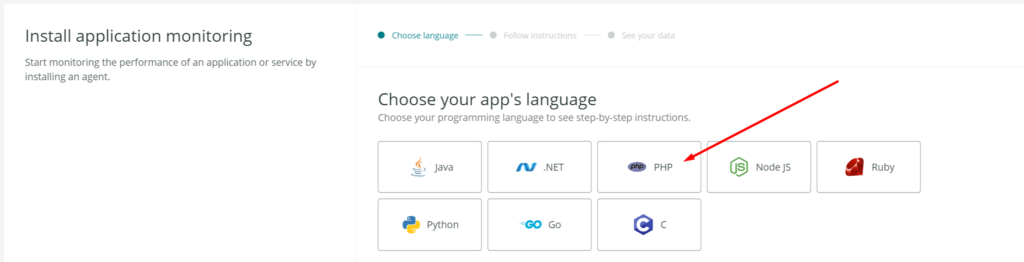
After selecting App Monitoring we know that WordPerss is PHP application, we will choose PHP.
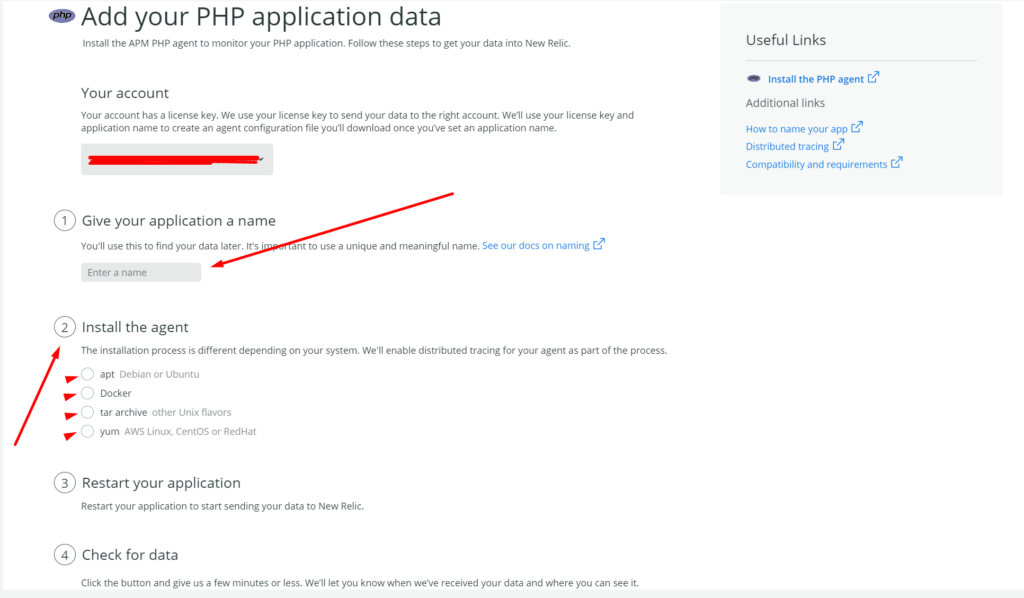
Setup configuration your server in New Relic APM
In this phase you will provide some data of application. first you need to give a unque name to the applicaton, make sure this is a unique name its important. Then choose installation envirment. We are going with Ubuntu, for Centos it will be similar as well.
So for Ubuntu select apt from the agent list.
Ater selecting apt from the list, you will be shown some commands. Don’t run all the commands, because with LSPHP the process is different.
So open your server terminal and run these commands:
1. echo 'deb http://apt.newrelic.com/debian/ newrelic non-free' | sudo tee /etc/apt/sources.list.d/newrelic.list
2. wget -O- https://download.newrelic.com/548C16BF.gpg | sudo apt-key add -
3. sudo apt-get update
4. sudo apt-get -y install newrelic-php5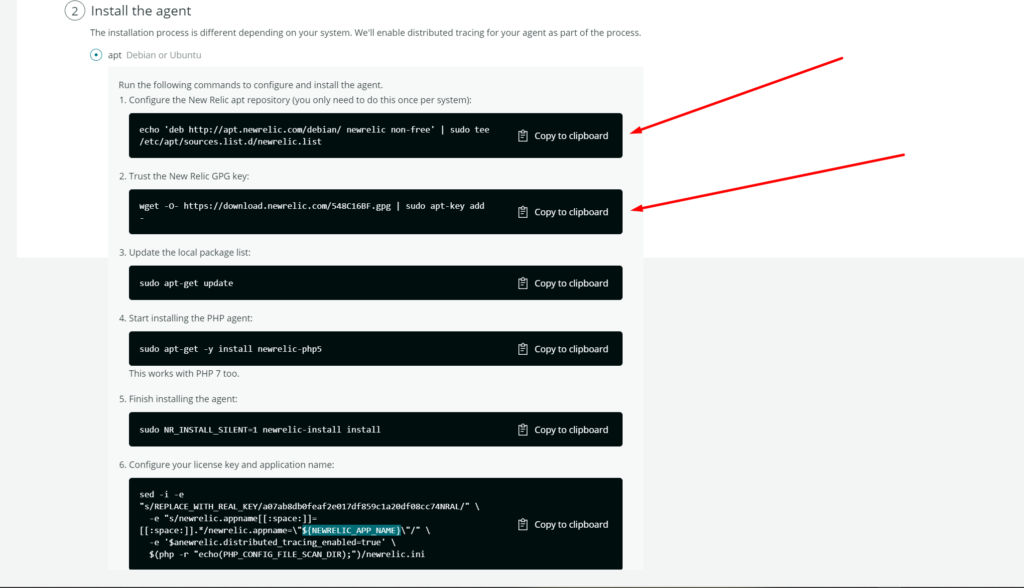
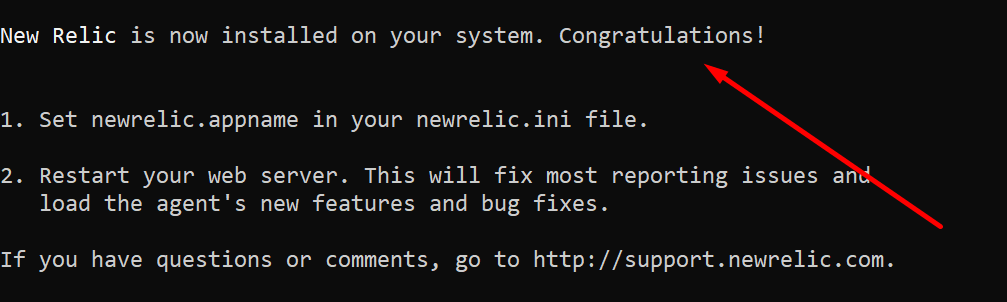
Note : After fourth command, you need to set environment variable.
Setup environmental variable
For setting enviromental variable run this command:
export NR_INSTALL_PATH=/usr/local/lsws/lsphp74/binI am installing New Relic for PHP 7.4 so my NR_INSTALL_PATH value is /usr/local/lsws/lsphp74/bin, if you want to install for PHP 7.3 it will be /usr/local/lsws/lsphp73/bin and similarly for other PHP versions
After setting enviroment variable is set run the modified version of 5th command:
newrelic-install
After running this command New Relic is Installed on your system for PHP 7.4
Then Run last command
sed -i -e "s/REPLACE_WITH_REAL_KEY/a07ab8db0feaf2e017df859c1a20df08cc74NRAL/" \
-e "s/newrelic.appname[[:space:]]=[[:space:]].*/newrelic.appname=\"${NEWRELIC_APP_NAME}\"/" \
-e '$anewrelic.distributed_tracing_enabled=true' \
$(php -r "echo(PHP_CONFIG_FILE_SCAN_DIR);")/newrelic.ini
Now make sure that your newrelic.appname is properly set in newrelic.ini, open /usr/local/lsws/lsphp74/etc/php/7.4/mods-available/newrelic.ini
Find and set the value of newrelic.appname according to what you have set in Step 3.
Restart your Application
To restart you application you want to restart LiteSpeed and LSPHP to make sure that New Relic Extension is loaded.
systemctl restart lsws
killall lsphp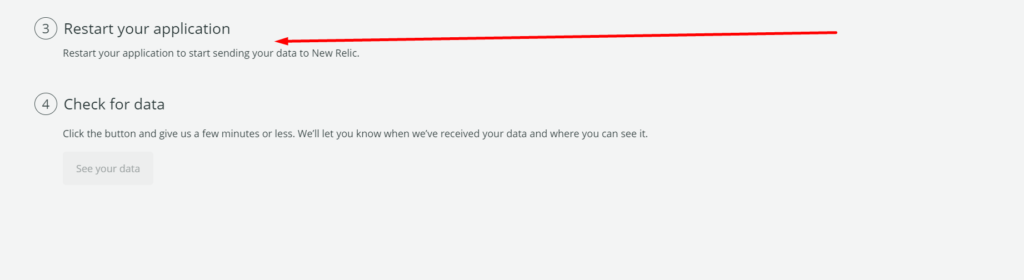
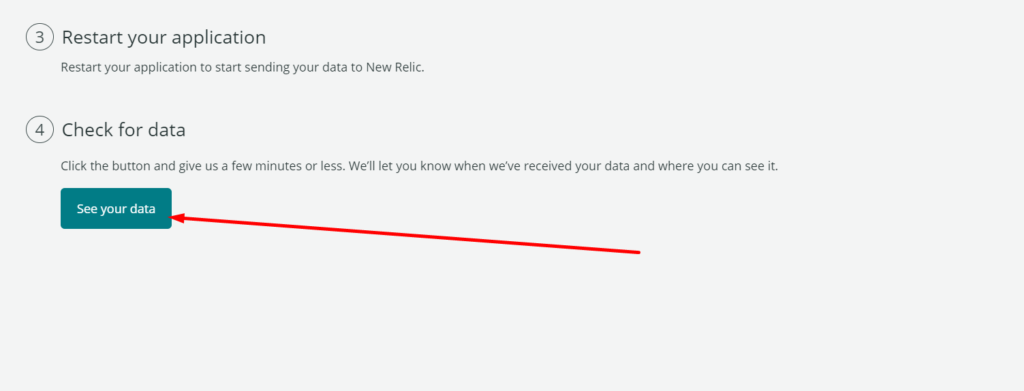
See your data
When ererything of the above is done properly, you need to vist your site and generate some data and click on “See your data” and you will able to see data coming from your server.
Find WordPress Performance
Now that everything is setup you can use New Relic APM dashboard to find various pain points in your WordPress.
Follow CyberLoader on Facebook / Twitter.
Join our Facebook group.