
The Git Manager is a powerful and rich tool within Cyberpanel. Git Manager is introduced in v2.0.0 in CyberPanel. In this article, we will discuss how to use CyberPanel Git Manager to complete Automation. Using this feature you can automate your application deployment directly from your Git repositories. Being a developer, this feature holds great value as we personally use it for our development lifecycle.
To become a partner with CyberLoader Click here.
Table of Contents:
- Intro to GitHub and repository
- CyberPanel Git Manager feature
- How to attach Git with CyberPanel
- Git Manager Init repo
- Git Manager attach with existing repo
- More about CyberPanel Git Manager
Intro to GitHub and repository
If you have some knowledge of developing you must know about git and GitHub, but if you don’t, read on. GitHub is a code hosting and development platform. GitHub is basically used for code collaboration, usually by open-source projects, however major commercial software like Windows uses the same too. The main and important thing about GitHub is its basic version is free, and in 2019 GitHub allowed developers to create unlimited private repositories on GitHub. But they added a limit on the collaboration on the free plan.

CyberPanel Git Manager Feature
CyberPanel Git Manager is a very powerful, rich, and advanced tool. it introduced in CyberPanel v2.0.0. If you are a developer and you are using CyberPanel as your web hosting panel you must know about this feature of CyberPanel.
CyberPanel Git Manager allows you a lot of benefits like:
- Initiate a local repository.
- Pull from existing remote repository.
- Make commits and view file change history.
- Automate deployment via webhooks.
How to access Git Manager Feature in CyberPanel
If you have the CyberPanel v2.0.0 or above then you can access Git Manager in CyberPanel. To access the Git Manager feature on CyberPanel. You have to log in to CyberPanel using credentials.
Once you logged in to CyberPanel dashboard, go to the sidebar and then Website-> List Websites, and select the website for which you want to use Git Manger. Then click on the Manage button on the screen.
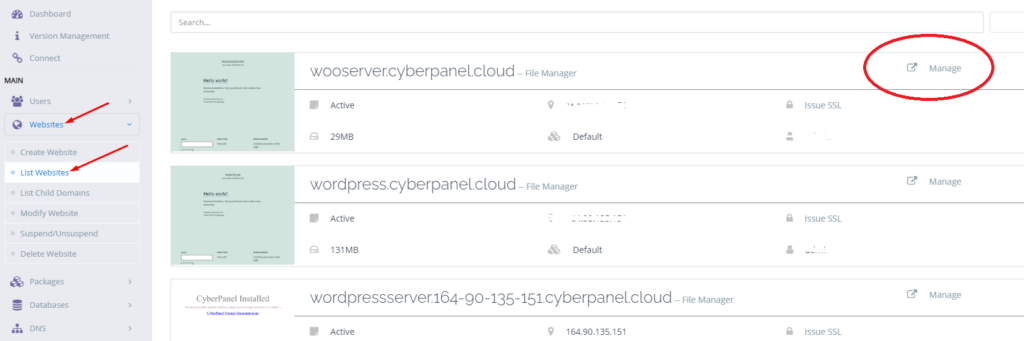
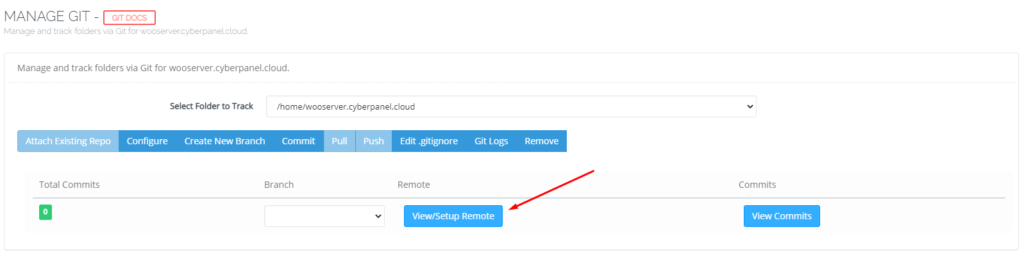
On the Manage Website Dashboard, you can find the Manage GIT option to open Git Manager for that specific website on the top right corner.
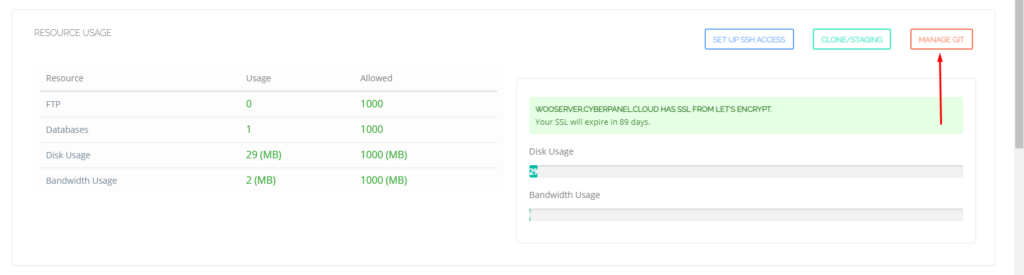
You can see the Git Manager screen here now.
How to attach Git with CyberPanel
If you are attaching a local repository you don’t need to do this step. But, if you are attaching an existing remote repository you need to add your key to GitHub/GitLab.
To add your key to GitHub follw the procedure below:
Get key from CyberPanel Git Manger
Click on the Attach Existing Repo button present on the Git Manager screen.
press this button provide some details and connect your GitHub to CyberPanel Git Manager.
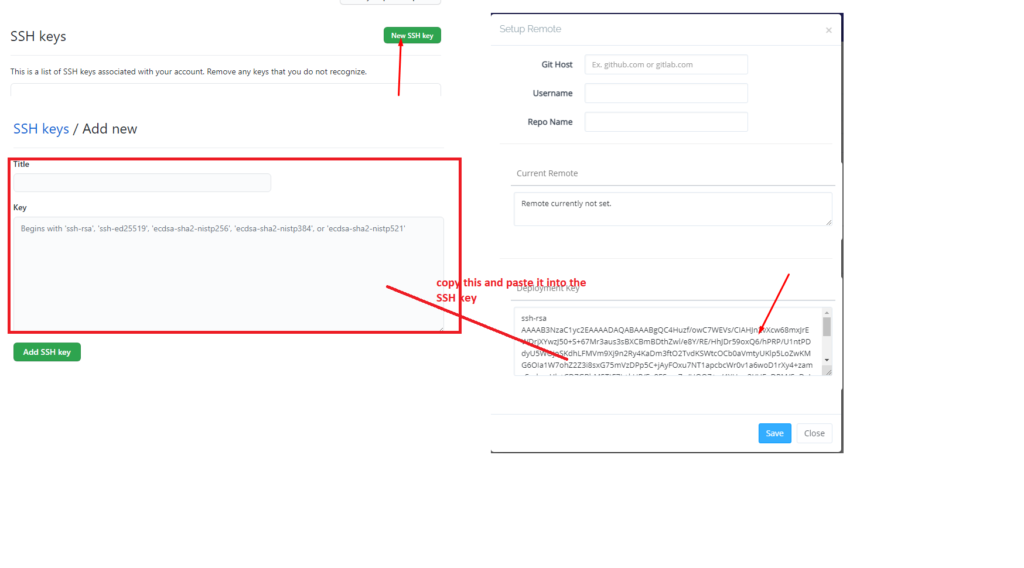
copy this key and follow the steps mentioned below.
Add SSH key on GitHub to connect CyberPanel Git Manager
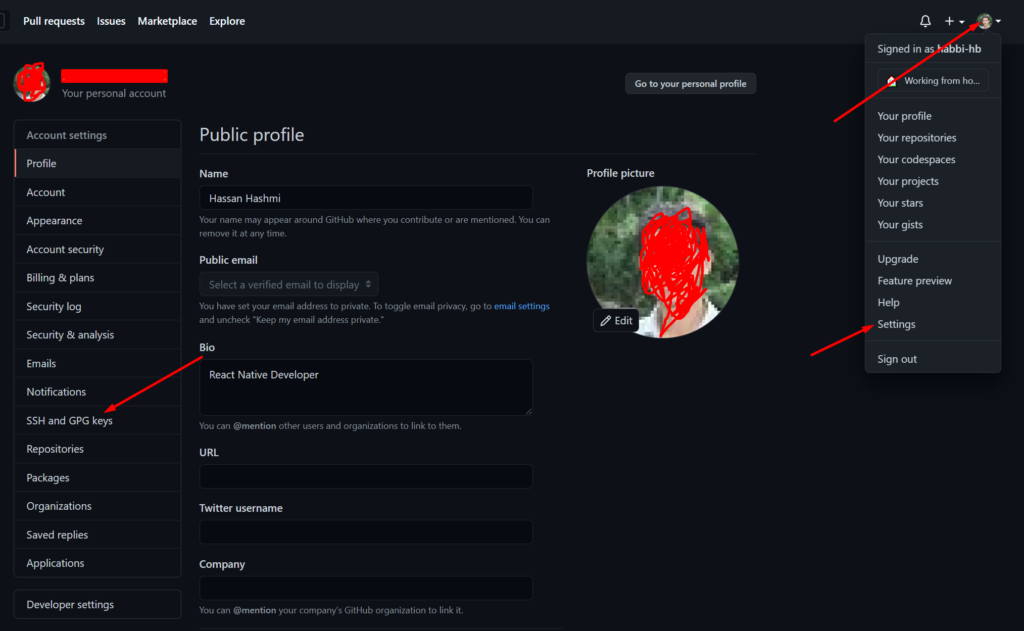
You need to log in to gihub.com and then go to Profile button->Settings->SSH keys and GPG keys.
Here you can see an add button to add the ssh key Press Add SSH Key and then copy that key, paste here, and then click Save.
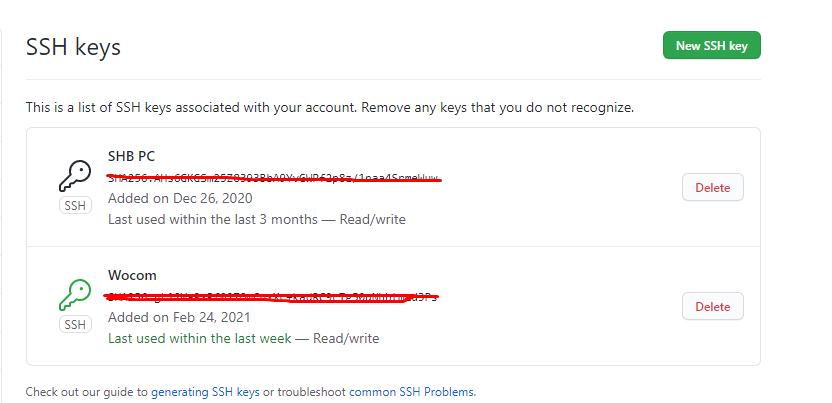
After this, press Add SSH key. You will see it saved there.
Once the key is added we can go back to CyberPanel Git Manager.
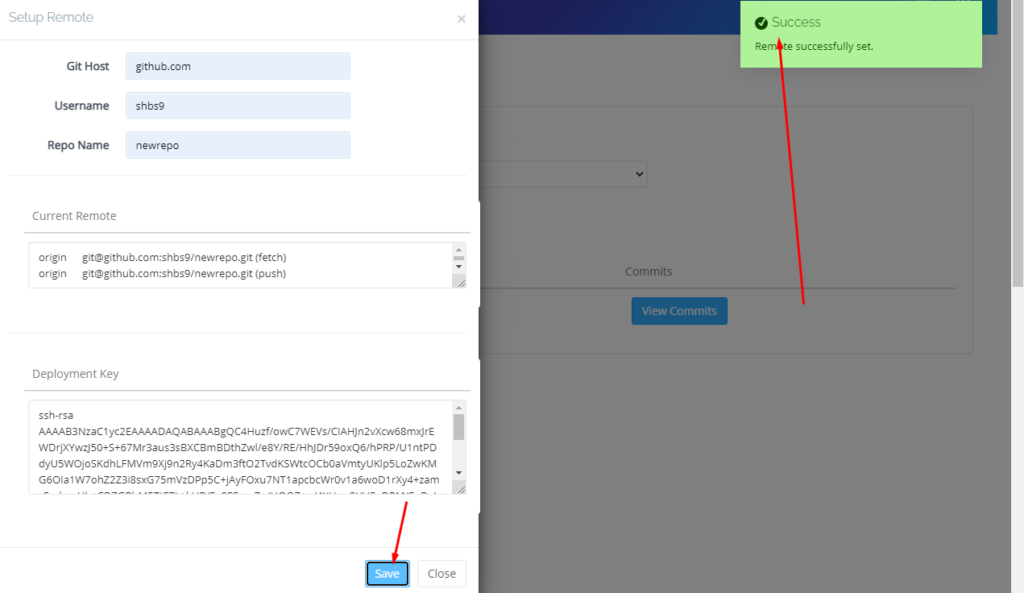
Press the Save button on the screen from where you copied the key, and it will show you a successful message.
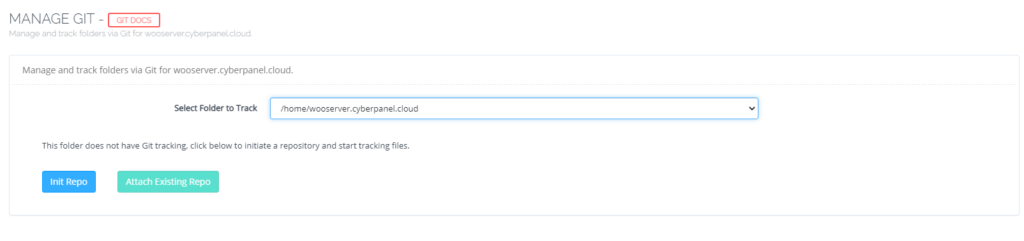
Git Manager Init repo
CyberPanel Git Manager allows you to entirely create a new repo and push it on GitHub servers.There is a lot to do in CyberPanel Git Manager Init Repo feature.
NOTE: Once you are able to reach the Git Manager dashboard and you see the init repo button, if you are logged in you can follow this URL too:
https://<your-server-ip>:8090/websites/yourwebsite.xyz/manageGITPress the Init Repo button and go to the next screen. It will look like this:
Here you can see you can perform a lot of Git tasks. No need to run the commands manually. Just check the button and perform the task you want to do. All details about these are mentioned below.
Configure
The first step is the configure. Here on this option, you can do some configurations.
- Auto Commit: In this way, all changes are committed to the git repo automatically.
- Auto Push: If you want to push your data automatically you can set this option.
- Email Logs: Set this option if you want to get an email about the Git Manager operations.
- Webhook URL: This is the URL you selected from the drop-down like for only public_html, Vmail, etc.
- Commands: Here you can set commands according to your choice. You can set these commands to run when this webhook is fired or executed.

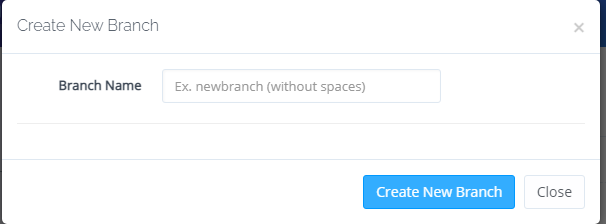
Create New Branch
You can create and maintain different Git branches directly within the Git Manager. Just press the Create New Branch option in Git Manager and create a new branch. Write the name of the new branch and press the save button.
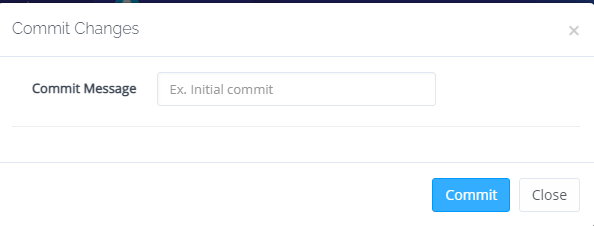
Commit
On GitHub, there may be only one person or a team of developers working on the same project. When anyone pushes their work to the repository, they add a commit. This commit helps in version control and allows you to know to what anyone did at that time. Just press the Commit button from Git Manager and add the commit you want.
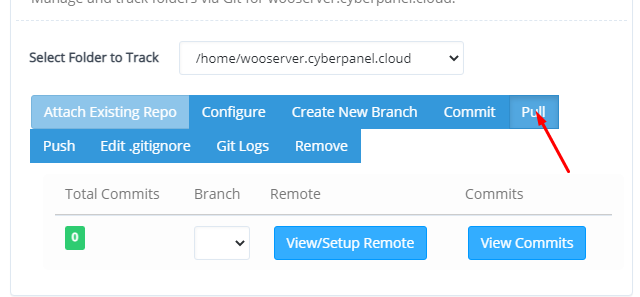
Pull
Pull requests are one of the most important operations when you are working with collaborations. It means when you make any changes you ask others to pull your changes into their branches. Pull requests show the difference between both branches.CyberPanel Git Manager provides you a button on the dashboard to do this easily. Attach your GitHub repo using the above method and pull any branch you want to pull.
Push
When you want to upload your local repository to the GitHub remote server you use the git push command. Pushing is how you transfer commits from your local repository to a remote repo. You can push your repo to the remote server after committing something. CyberPanel Git Manager also allows you to do this by using the Push button on the Git Manager dashboard. You can push any of your local repos to remote from the GitHub server, and any branch.

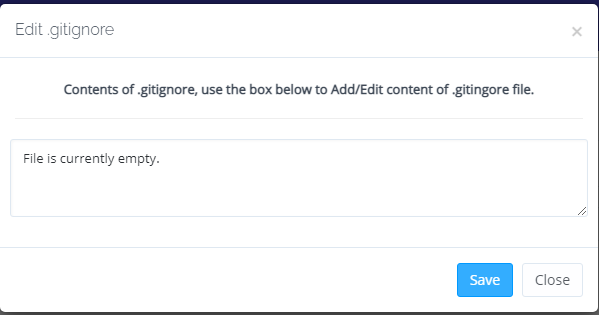
Edit .gitignore
Gitignore is the most powerful and useable feature of Github. The purpose of this feature is when you want to edit one file you can ignore all of the other files by .gitignore. CyberPanel Git Manager also allows you to edit the git ignore file. You can update the gitignore file and can add anything you want to add or remove from that file, to exclude from pushing to the GitHub remote server.
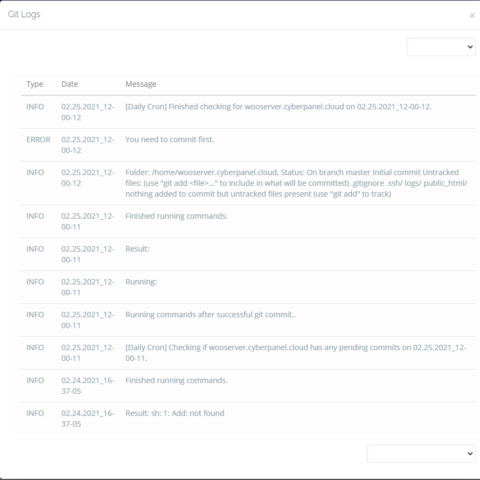
Git Logs
You can also see git logs from the CyberPanel Git Manager. Just press the git button and see what you did in the logs.
Remove
If you want to remove the current working git from this project just press the remove button and all done.
View/Setup Remote
As mentioned above, this option is to integrate the Local git repo with the GitHub remote repository.
View Commits
If you want to see what you committed on this repo you can press the View commit button and see all commits you added to this project.
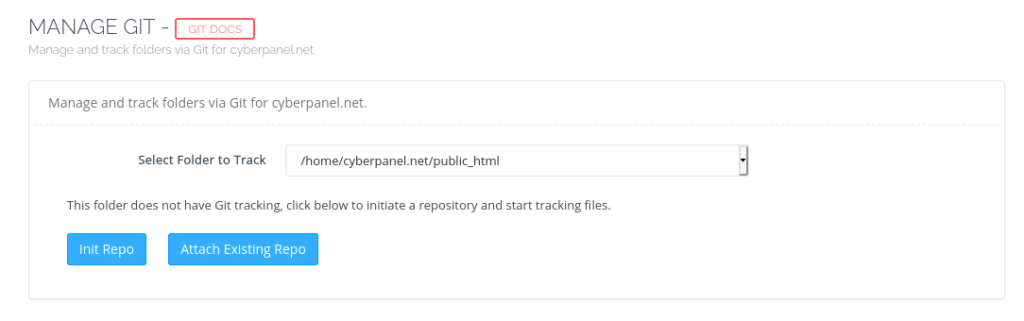
Git Manager attach with existing repo
Attach Existing Repo allows you to push your data to the repo that already exists. You can send your data to any repo at your remote GitHub which is already present there.
How to perform a Stress Test on your Web application using CyberLoader?
Follow CyberLoader on Facebook / Twitter.
Join our Facebook group.