
In this tutorial, we will be looking at how to setup custom SSL for your domain. These days security is a primary concern. We all want HTTPS for our websites. SSL stands for Secure Sockets Layer and, in short, it’s the standard technology for keeping an internet connection secure and safeguarding any sensitive data that is being sent between two systems, preventing criminals from reading and modifying any information transferred, including potential personal details. The two systems can be a server and a client (for example, a shopping website and browser) or server to server (for example, an application with personally identifiable information or with payroll information).
HTTPS (Hyper-Text Transfer Protocol Secure) appears in the URL when a website is secured by an SSL certificate. The details of the certificate, including the issuing authority and the corporate name of the website owner, can be viewed by clicking on the lock symbol on the browser bar.
Getting SSL and Private Keys to Install
For this tutorial, I will be getting SSL for ZeroSSL because it is free and easy to set up. Login to your SSL account or create a new one.
You will see your dashboard after signing in. Click on the New Certificate button to start creating the SSL certifcate.

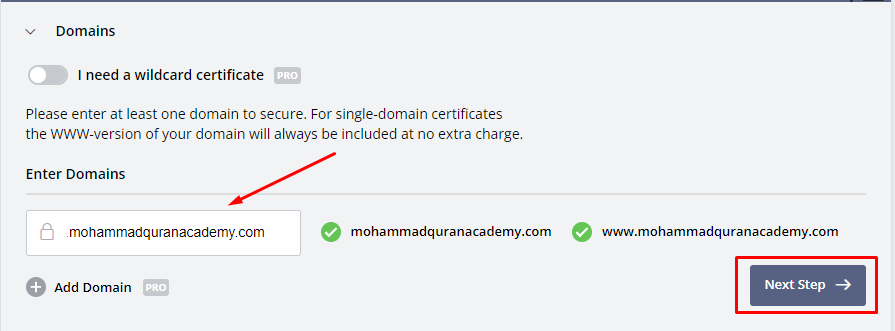
Enter the domain in the input field for which you want to add an SSL certificate. Then click on Next Step.
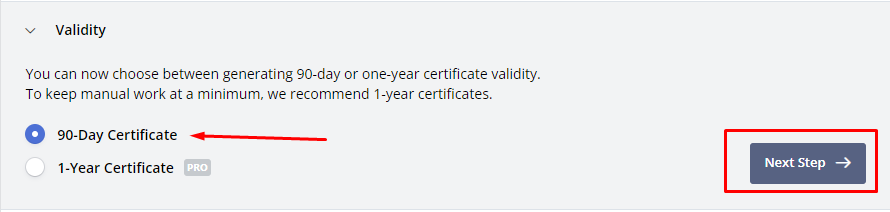
Next comes the Validity section, choose the 90-Day certificate. This means that the SSL certificate will expire after 90 days. Since this is free so that’s why I am with it.
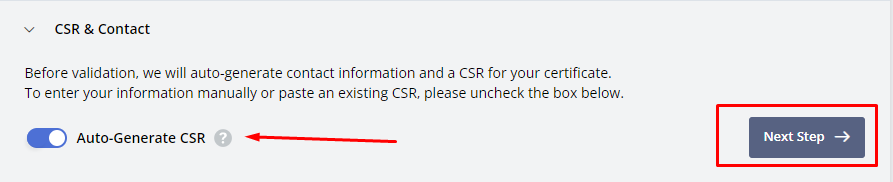
After that check on Auto-Generate CSR to automatically fill in the information and generate CSR.
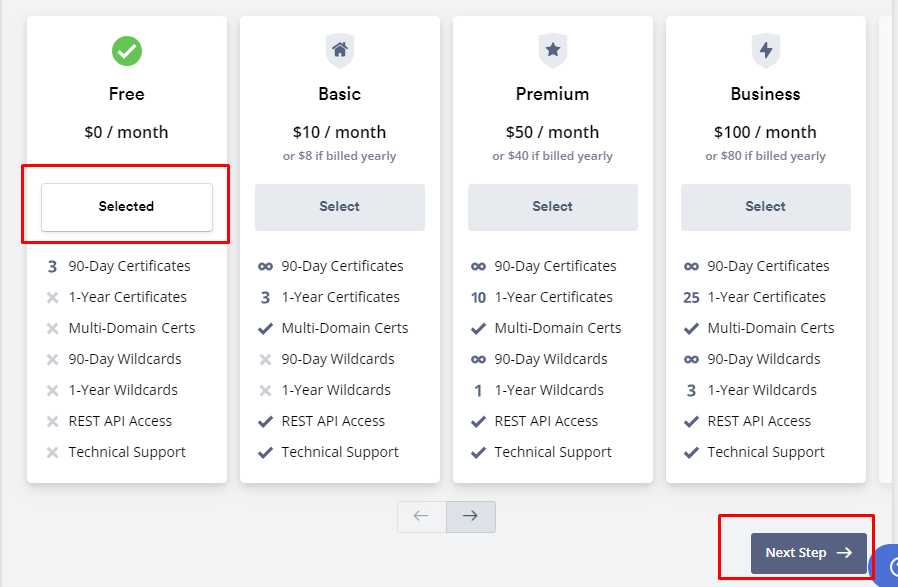
In the next section, you need to choose the payment plan. Select the first plan which is free hit on Next Step.
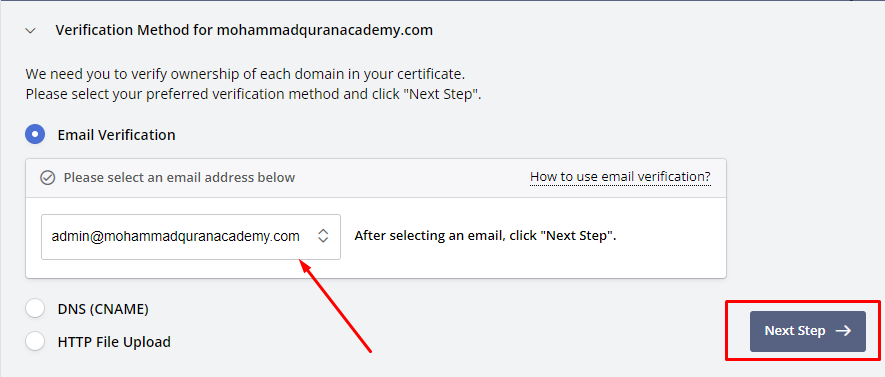
In the next step, you need to verify your email address. This must be the email address of the domain for which you want to add SSL.
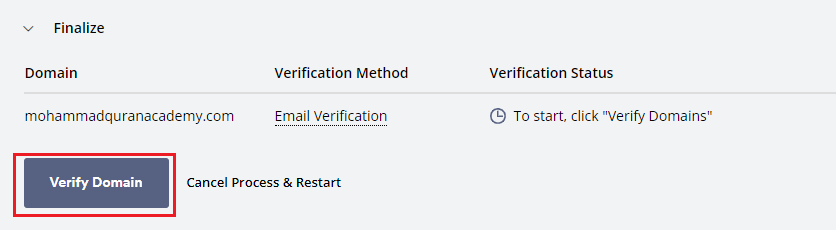
Then click on the Verify Domain, and an email will be sent to your email address.
Verifying Email Address
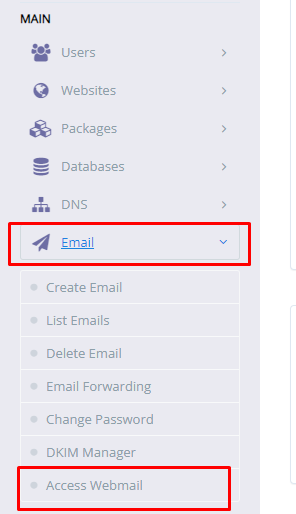
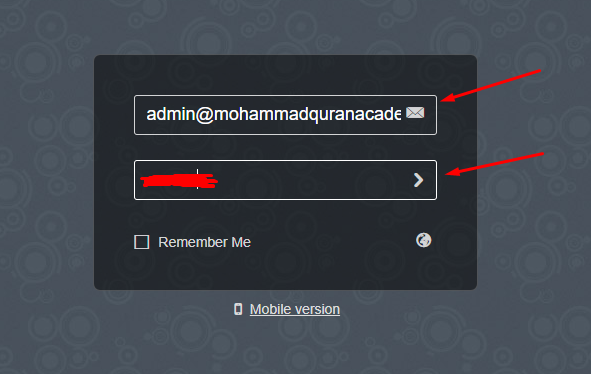
Now go to your CyberPanel dashboard and navigate to Email -> Access Webmail to start using RainLoop Webmail.
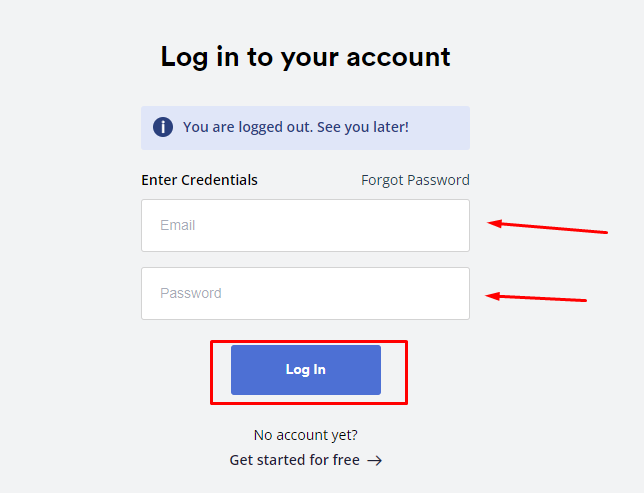
Enter your credentials and log in to your account.
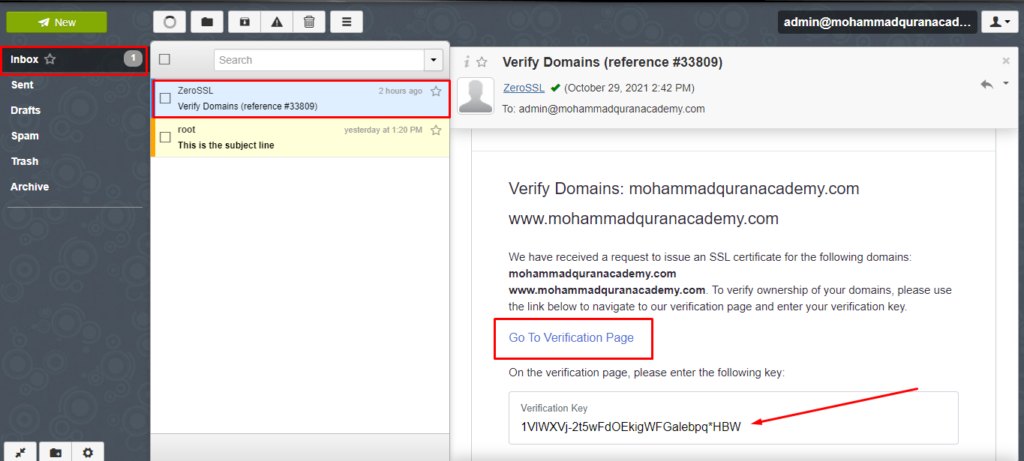
Once you are logged in, go to Inbox and find the email message from ZeroSSL. Open that email, copy the verification key and click on Go To Verification Page to verify.
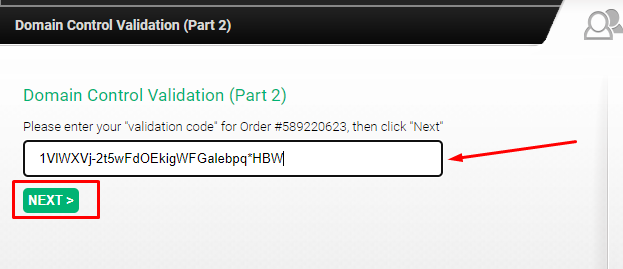
In the newly opened tab, paste the verification key you copied and hit the Next button.
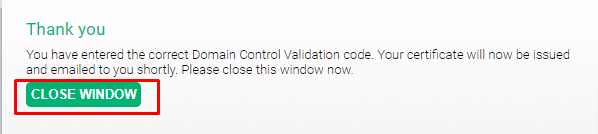
A window will appear confirming your verification key. Close that window to proceed.
Now go back to your ZeroSSL page and click on Refresh Status. You may have noticed that the verification status is pending.

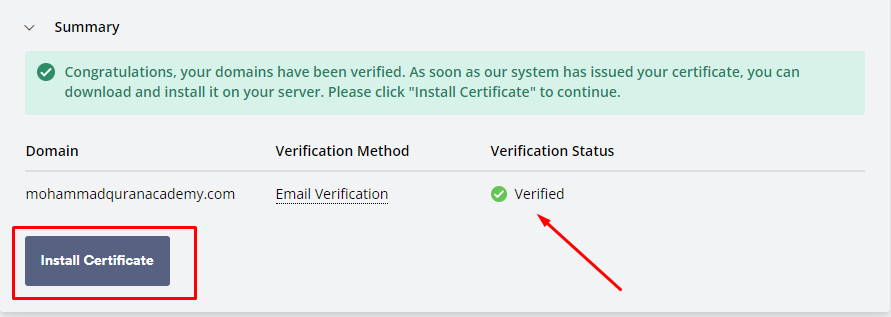
Once the status is refreshed, you will notice that the email is verified. Click on Install Certificate to install.
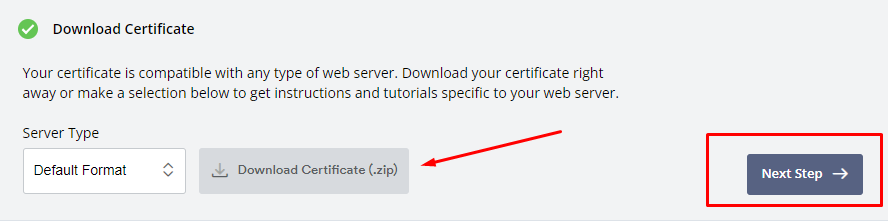
Now you need to download the certificate, go with the default format and download it in a .zip file.
Extract the downloaded file and you will there are three files inside. Two of them are certificate files and the third one is the private key file. Open all of them in any text editor to copy their content.

Adding SSL Certificate on a Domain
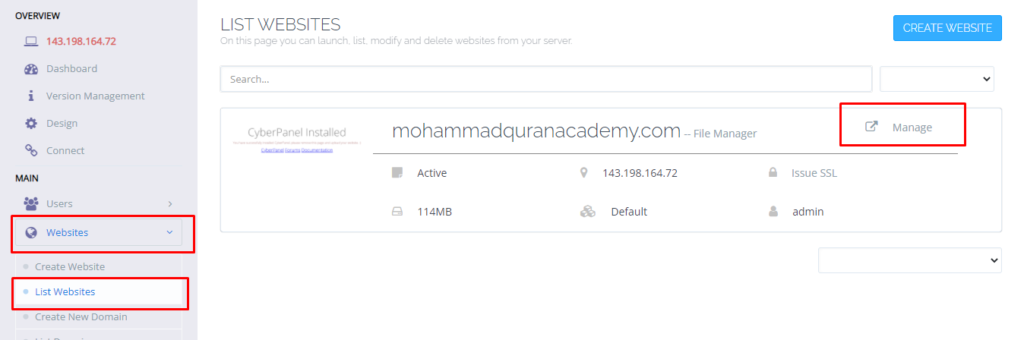
Now head over to your CyberPanel dashboard, and go to Websites -> List Websites to view all websites. From there choose the domain for which you want to add the certificate and click on manage.
Setup Custom SSL for Your Domain
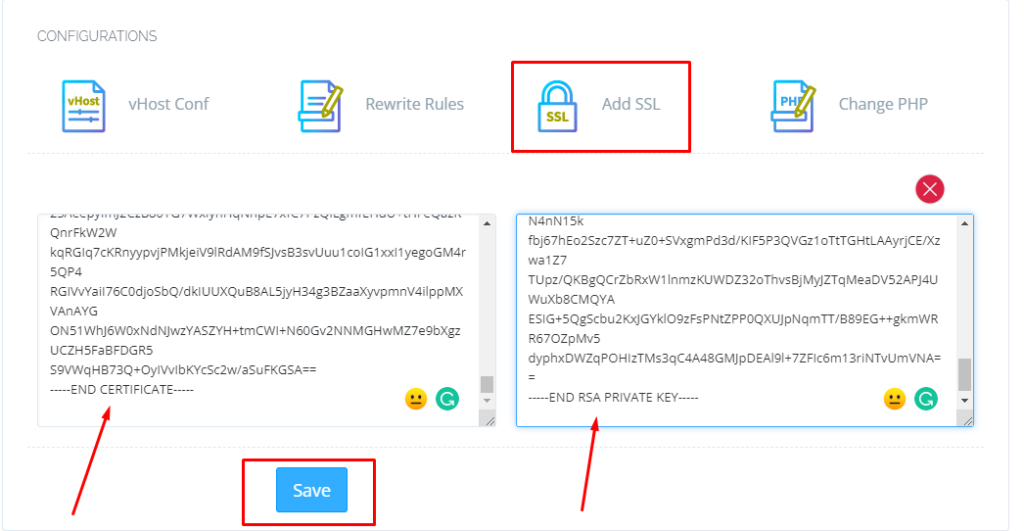
Now scroll down a bit and you will the Configuration category, click on Add SSL. Two boxes will appear, paste the values from both certificate files, and in the second box paste the private key. Then click on Save to make changes.
After saving the keys, you need to restart the LiteSpeed server to apply changes. For that go to your terminal and type in the following command:
sudo systemctl restart lswsWhen the server is restarted, go back to your website’s management page and you will see the SSL is issued by ZeroSSL which is valid for 90 days.
Also Read:
Setup Modsecurity On CyberPanel to Protect Your Websites From Online Attacks Using