
Advanced WordFence Protection is one of the most popular security plugins for WordPress websites that let your CMS stay safe by taking care of the website’s security.
Security has been a serious concern since the hackers started exploiting websites which may lead to DDoS attacks, Website Defacing, and even Command Injection. You need to keep those hackers away from taking over your site and here in this article, we’ll be seeing how we can do that to some extent.
In the OpenLiteSpeed Enterprise edition which is fully Apache compatible you don’t need to do any additional steps for using Advanced WordFence Protection but in the case of OpenLiteSpeed, we need to do some configurations.
Advanced WordFence Security Plugin
WordFence is a WordPress security plugin that is getting popular day by day.
The plugin uses an endpoint firewall and malware scanner that were specifically designed for WordPress. Wordfence’s Threat Defense Feed provides it with the latest firewall rules, malware signatures, and malicious IP addresses necessary to protect your website. In addition to Wordfence’s extensive security features, it offers a suite of additional features.
Wordfence has both free and paid versions. If you want to use the free version you can go to the WordPress plugins directory and can use it. If you want to buy their paid plan visit here to check to price.
For this article, we will go with the free version installation from the WordPress plugin section.
Installing WordFence on Your WP Website
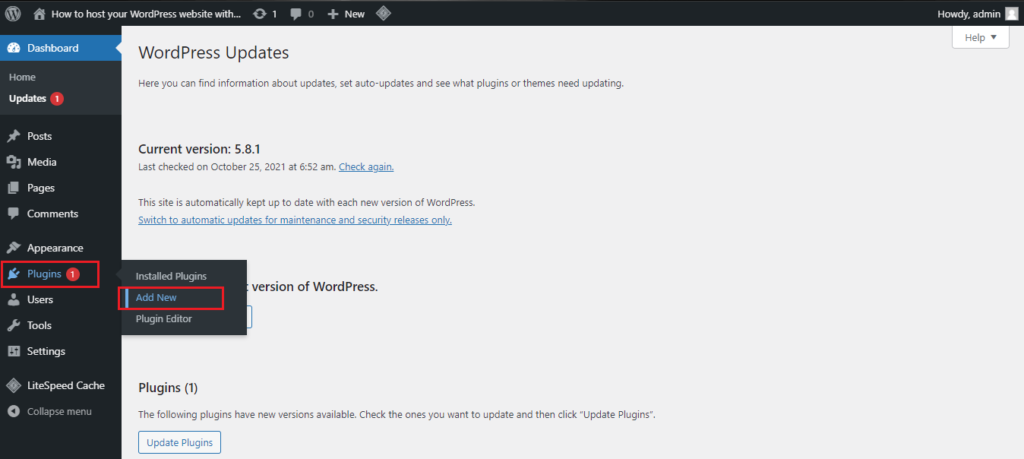
Installing WordFence plugin is just like installing any other plugin on your site. Login to your WP dashboard and go Plugins -> Add New from the left menu bar.
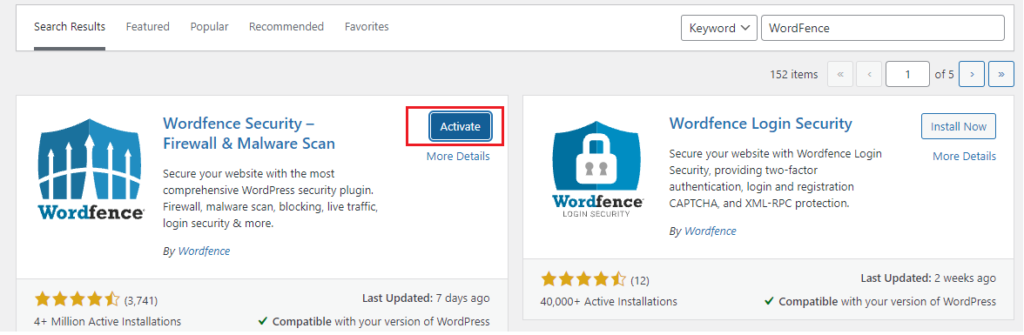
Now go to the search bar and type WordFence, select the first result and click on Install button.

After installation is completed, click on the Activate button.
After activation, enter your email address in the input field to recieve update and check the Agree Terms and Conditions, then click on the Continue button.
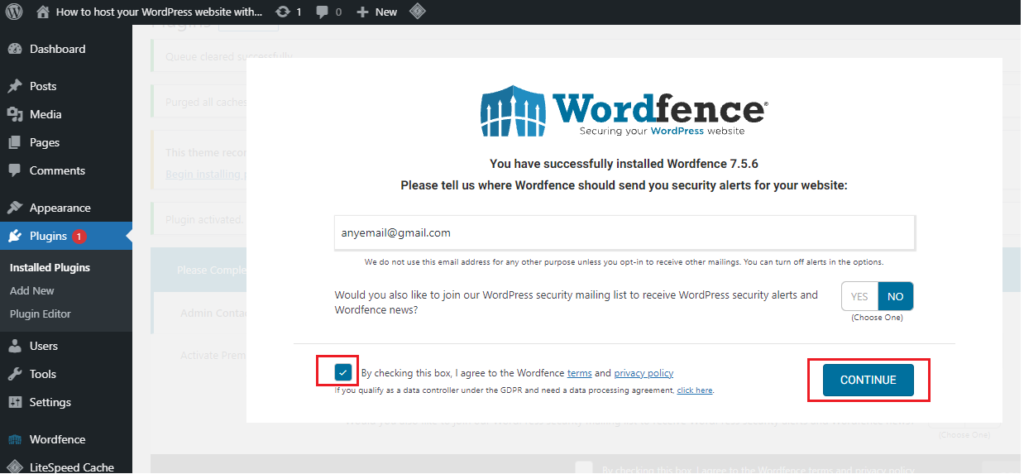
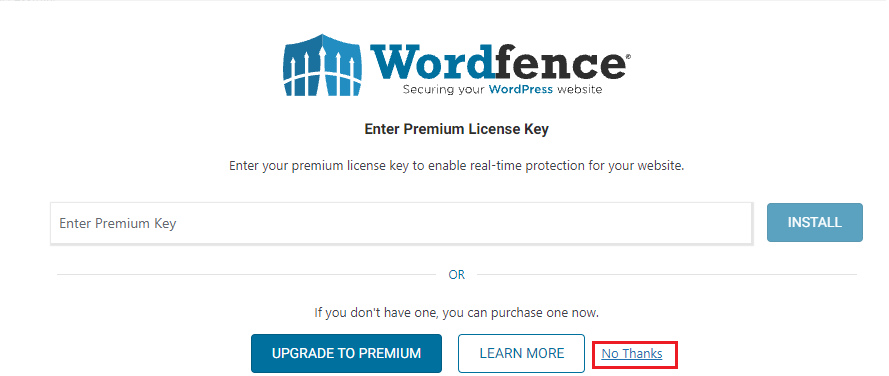
If you have the Licence Key, you can enter for the Premium version otherwise click on No Thanks to use the free version.
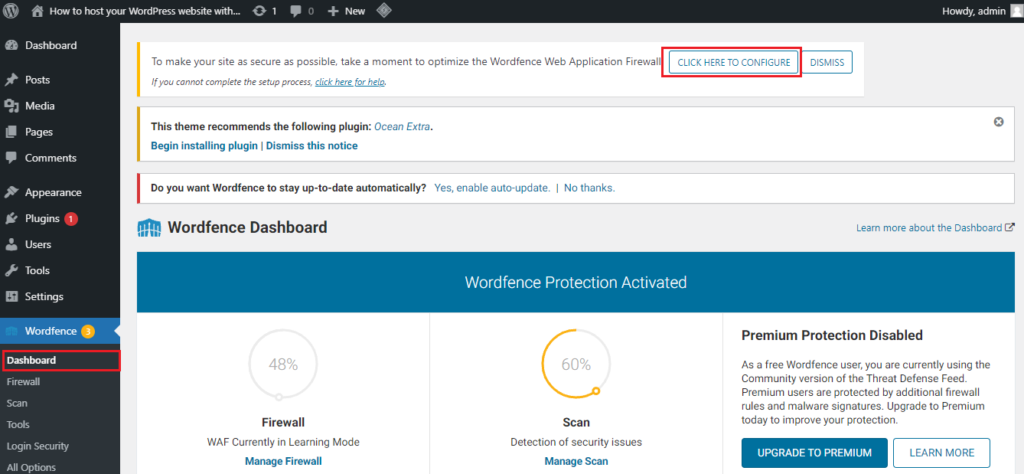
Now go to the WordFence Dashboard and click on CLICK HERE TO CONFIGURE.
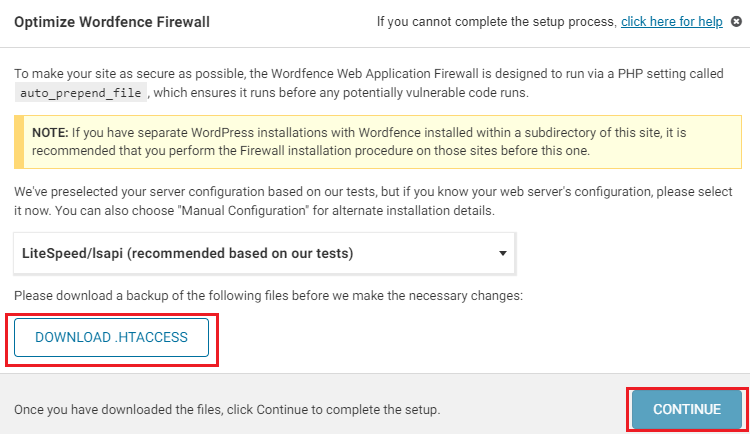
Download the .htaccess file and hit Continue.
Now it’s time to do some configurations.
Setting up vHost Configuration for Advanced WordFence Protection options
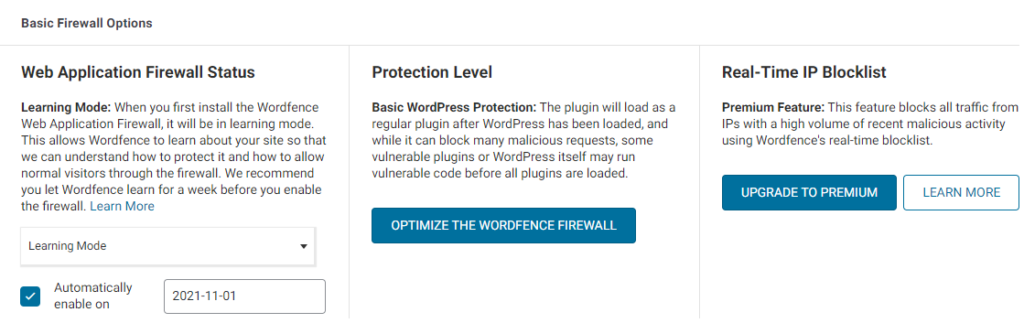
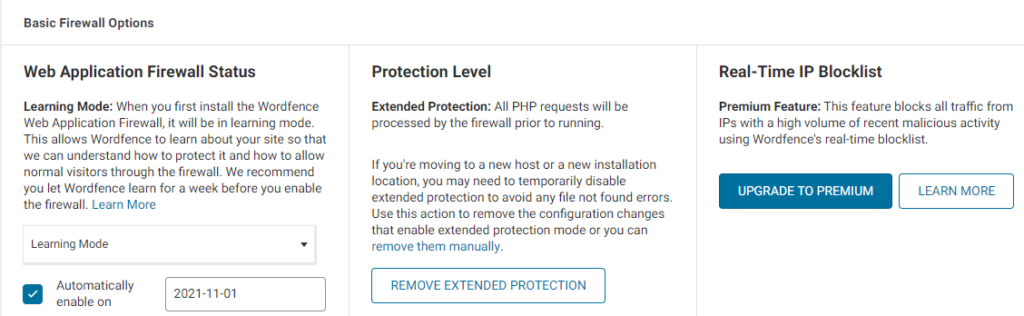
As you can see, we are currently using the Basic WordPress Protection of WordFence. In case of OpenLiteSpeed, we need to do some configurations for Advanced WordFence Protection.
Now go to your CyberPanel dashboard and navigate to Websites -> List Websites to see all websites and select the one on which you want to use Advanced WordFence Protection. Then click on Manage button of selected website.

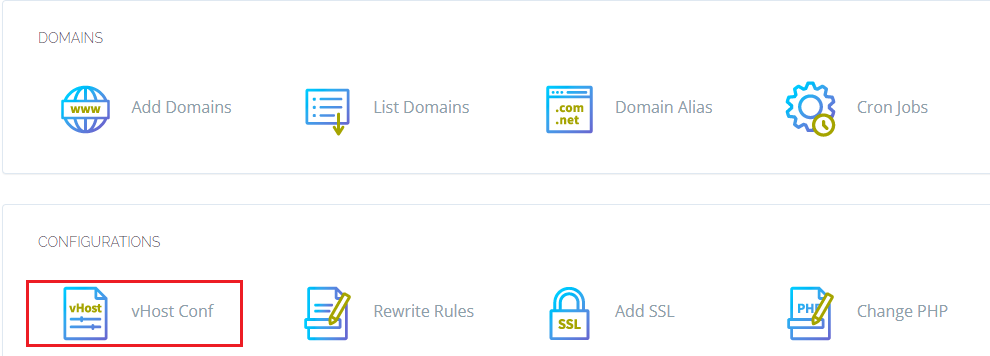
When the new page is loaded, scroll down the page untill you see the Configurations category. Over there click on vHost Conf.
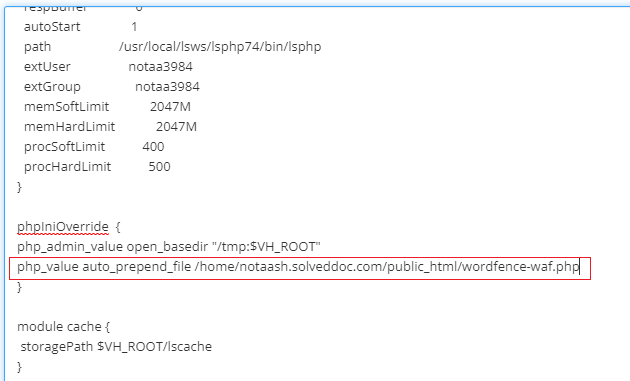
After clicking, current configurations in the file will be fetched and displayed in description box. Scroll down the description box untill you see the phpIniOverride
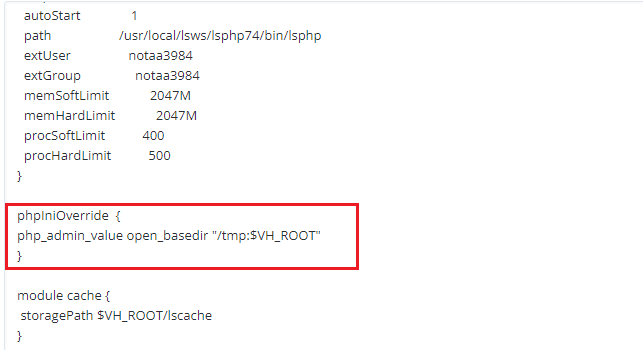
Click inside the phpIniOverride body to edit and add a new line:
php_value auto_prepend_file /path/to/wordfence-waf.php
You need to find the path of your website and wordfence-waf.php file will reside in one of it’s diretory. To find path of your website in Cyberpanel, go to website’s management page and if you scroll it down you’ll see the Files category. Click on the File Manager.

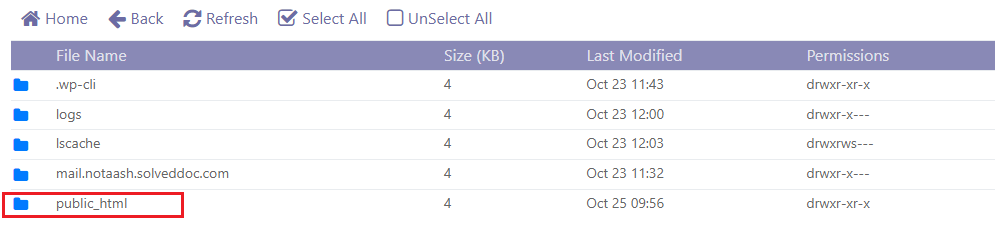
Navigate to public_html directory when the File Manager page is loaded.
If you scroll down a bit, you’ll see the wordfence-waf.php file is located inside this diectory.
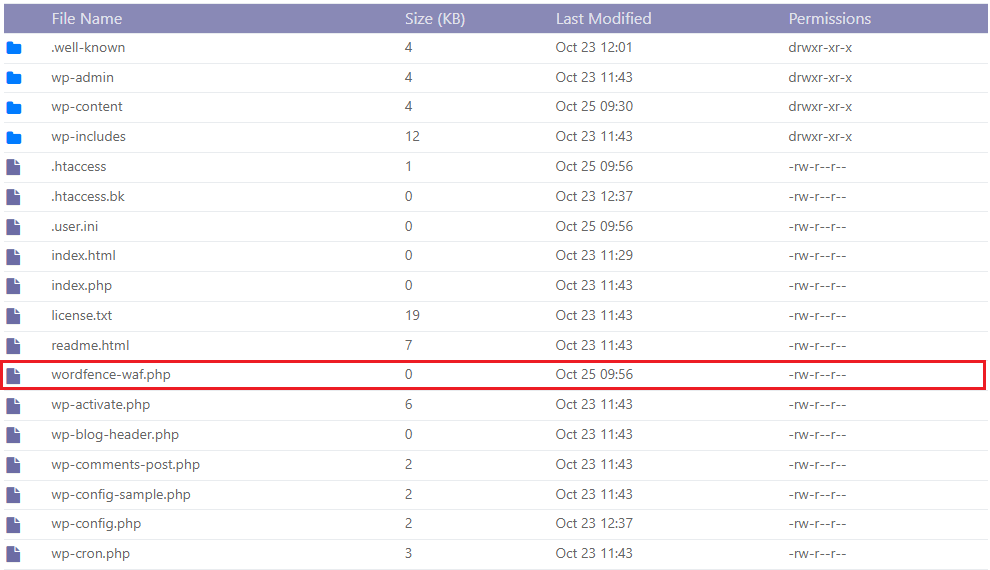
Now copy path of this directory and name of the file.

Now replace the copied path and filename in the line mentioned above. After replacing it will look something like this:
php_value auto_prepend_file /home/notaash.solveddoc.com/public_html/wordfence-waf.php
Copy this complete line and paste in the vHost Conf description box inside phpIniOverride body and click Save.
After saving the configuration, you need to restart the LiteSpeed server by entering following command in the terminal.
systemctl restart lsws
After running this command, the server will restart and the changes made will be applied. Now go back to the Wordfence dashboard and you’ll see there we are now using Exteneted Protection level of WordFence.
How to perform a Stress Test on your Web application using CyberLoader?
Follow CyberLoader on Facebook / Twitter.
Join our Facebook group.